How Do I Format Items on My Paychecks?
Background
You can adjust the placement of items that print directly on your pre-printed check stock, such as the check date, dollar amount, and employee name, in order to ensure that these items print correctly. First, choose the type of paycheck you use. See Setting Up Printed Paychecks in Patriot Software. If you use completely blank check stock and MICR toner, see How to Print Paychecks Using Blank Check Stock.
To change the display and placement of pre-printed check items
- Settings > Payroll Settings > Paycheck Printing Options
- Select your printing method, either “Check on Top” or “Check on Bottom.”
- Click “Layout Adjustments” to show the formatting options and view the position of the items.
The first fields adjust the placement of the check stub. For more details, see How Do I Format the Checkstub on my Paychecks?
The paycheck item locations will be printed based on the column and row numbers.
The employee name and address lines and check number are optional fields to display on the printed check and can be displayed if you want the name and address to show through a double window envelope. Check these boxes if you want to display these items. In the example below, the following display items are checked to display on the employee paycheck.
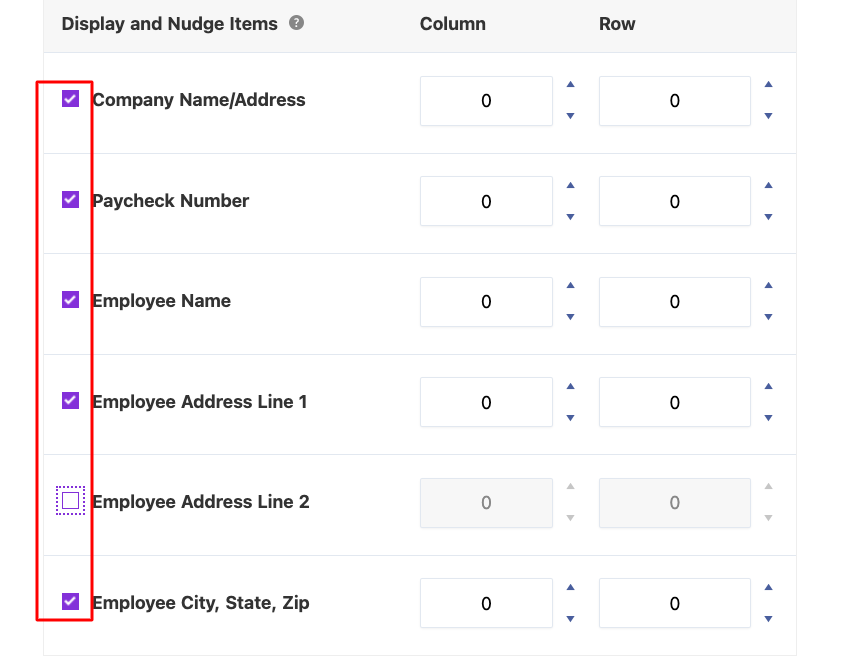
Change the column and row numbers for each item by clicking the up and down arrows. The default column and row numbers for each field is 0 (zero). Changing the numbers changes the position of each item on the check.
- To move an item one gridline to the right, add 10 to the column number.
- To move an item one gridline to the left, subtract 10 from the column number. You can enter negative numbers.
- To move an item one gridline above, add 10 to the row number.
- To move an item one gridline below, subtract 10 from the row number. You can enter negative numbers.
When you click “Print Sample,” the PDF document will open and show a full paycheck page with a grid:
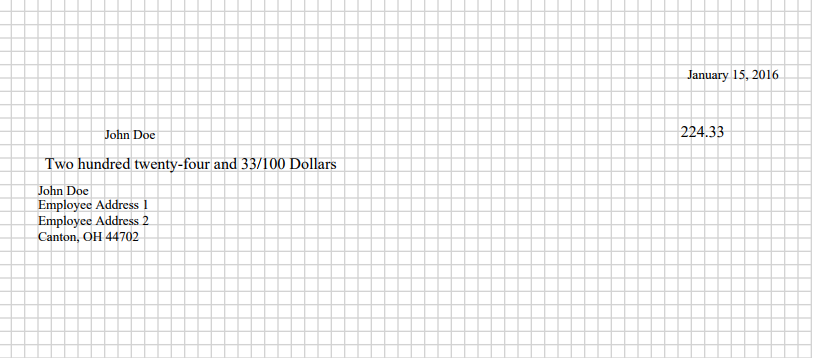
You can print as many sample checks as needed to adjust the position of the items (by changing the column and row numbers) until it prints correctly. You do not need to Save the page in order to print a sample paycheck.
Once you are satisfied with the placement of the items on your check, click “Save.” When you process payrolls, the check layout will use these settings. You can change these settings anytime as needed.
Your feedback will not receive a reply. If you have a specific issue, please reach out to our support team here.