How to Add an E-Signature to a Check
Background
Save time by uploading your electronic signature to be printed on payroll checks for W-2 employees, 1099 contractors, or vendors. Instead of signing each check manually, you can add your e-signature to both pre-printed and blank check stock for a smoother, more efficient process.
How to Create an E-Signature Image
Before you set up your e-signature in the software, you need to have an image file of your signature. Here are some tips for creating an image file that will work:
- The image file must be smaller than 4MB.
- The following are acceptable file formats: .JPEG, .JPG, .PNG, and .GIF.
- There are a few ways to actually create your image file:
- Sign a white piece of paper with black or blue ink and take a picture. You will most likely need to edit the photo so that the background is pure white or transparent for easiest placement.
- If you have a scanner app on your phone, you can take a picture with the scanner app and save as an image. The scanner app can format the image so the background is white.
- Use an app that allows you to create a signature by signing on your tablet or phone and convert to an image.
- When you upload your image file to the software, your image will be resized to fit a space on the check that is 345 pixels wide by 44 pixels high.
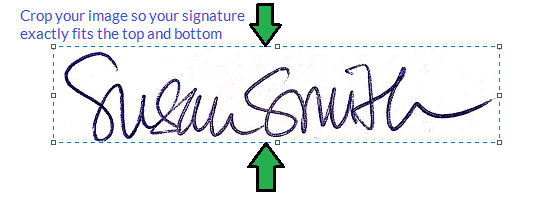
- Think “long and skinny.” This is going to be much smaller than even low-resolution images. You will want to crop your image so there is no extra space on the top or below your signature, otherwise, your image may appear too small on the check.
How to Upload an E-Signature Image
- Go to Settings > Paycheck Printing Options
- Paying Employee or Paying Contractors tab
- The settings for e-signatures for employees and contractors are independent from each other
- Check the box “Print E-Signature on Checks.”
- Click “Choose File” to browse for your signature image file on your computer
- Click “Upload”
- You will see the signature image and filename appear
- Click “Save”
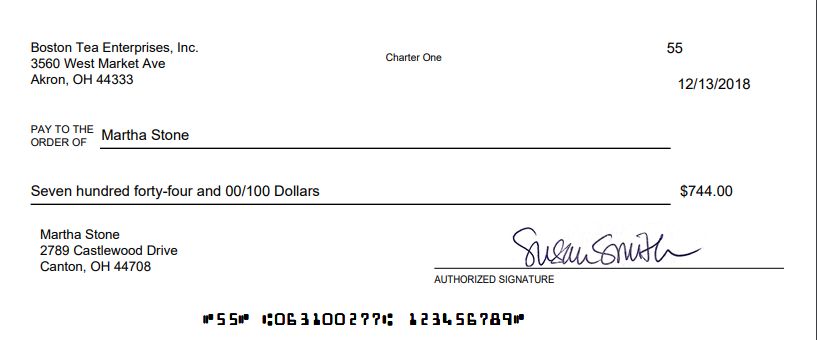
- Your image will be placed above the signature line.
- If your image doesn’t have a transparent background and includes lowercase letters with descenders (such as g, j, p, q, or y), those letters will appear above the baseline, and your entire signature will shift slightly higher. However, if you’re using a transparent background, you can adjust the placement to allow the descenders to fall naturally below the line.
- To see how your signature will look on your printed checks, click “Print Sample.”
How to Nudge the Signature Placement on Checks
To nudge the placement of your signature on your pre-printed check stock, under Layout Adjustments, change your column and row number to move the signature. For more details about nudging, see How Do I Format Items on my Paychecks?
When you print your paychecks, your e-signature will appear on the PDF.
Temporarily Stop Using E-signatures on Checks
To temporarily stop printing your signature on your checks, or to not have it included on a check
- Go to Settings > Paycheck Printing Options
- Select the “Paying Employees” or “Paying Contractors” tab
- The settings for e-signatures for employees and contractors are independent from each other
- Uncheck the box “Print Signature on Checks”
Your signature image file will remain uploaded and ready for use by checking the box again. This can be disabled on paychecks for W2 employees or checks to 1099 contractors/vendors or both.
Your feedback will not receive a reply. If you have a specific issue, please reach out to our support team here.